Manual
Quick Guide - Create an Account and Start a Dialogue
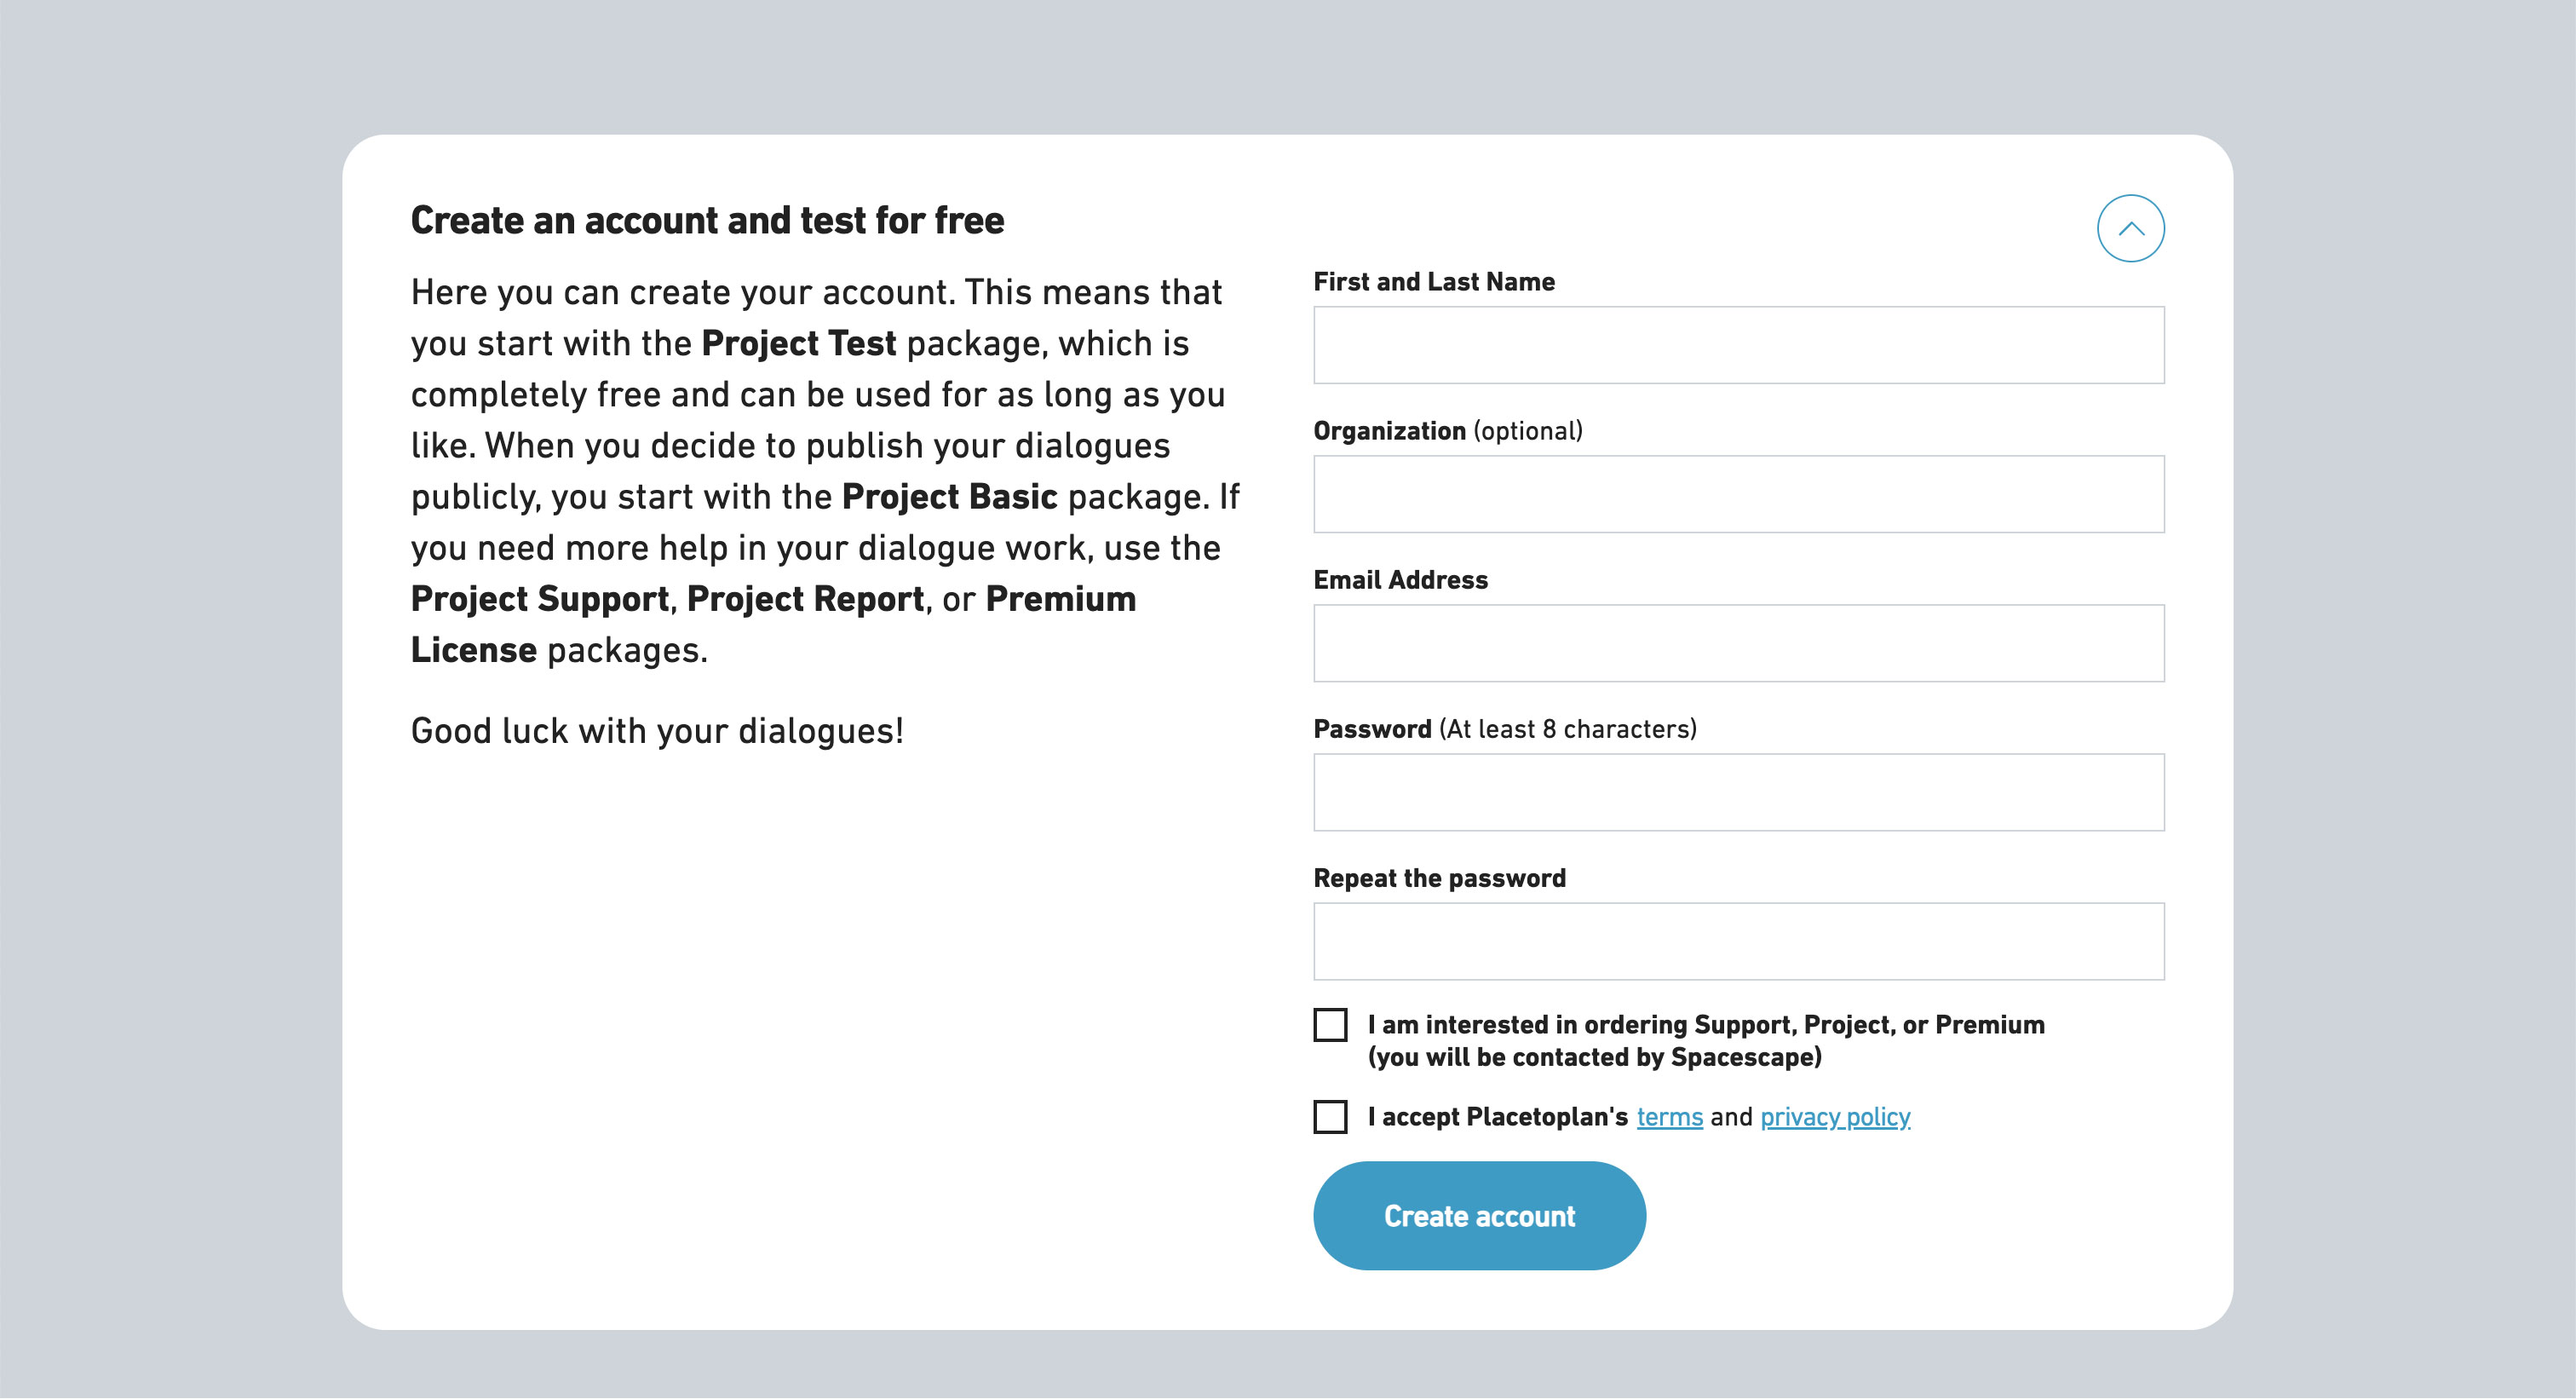
- To create an account, visit placetoplan.se. Click on "Create Account" at the top. Enter your name, email, organization, and password. Click "Create Account."
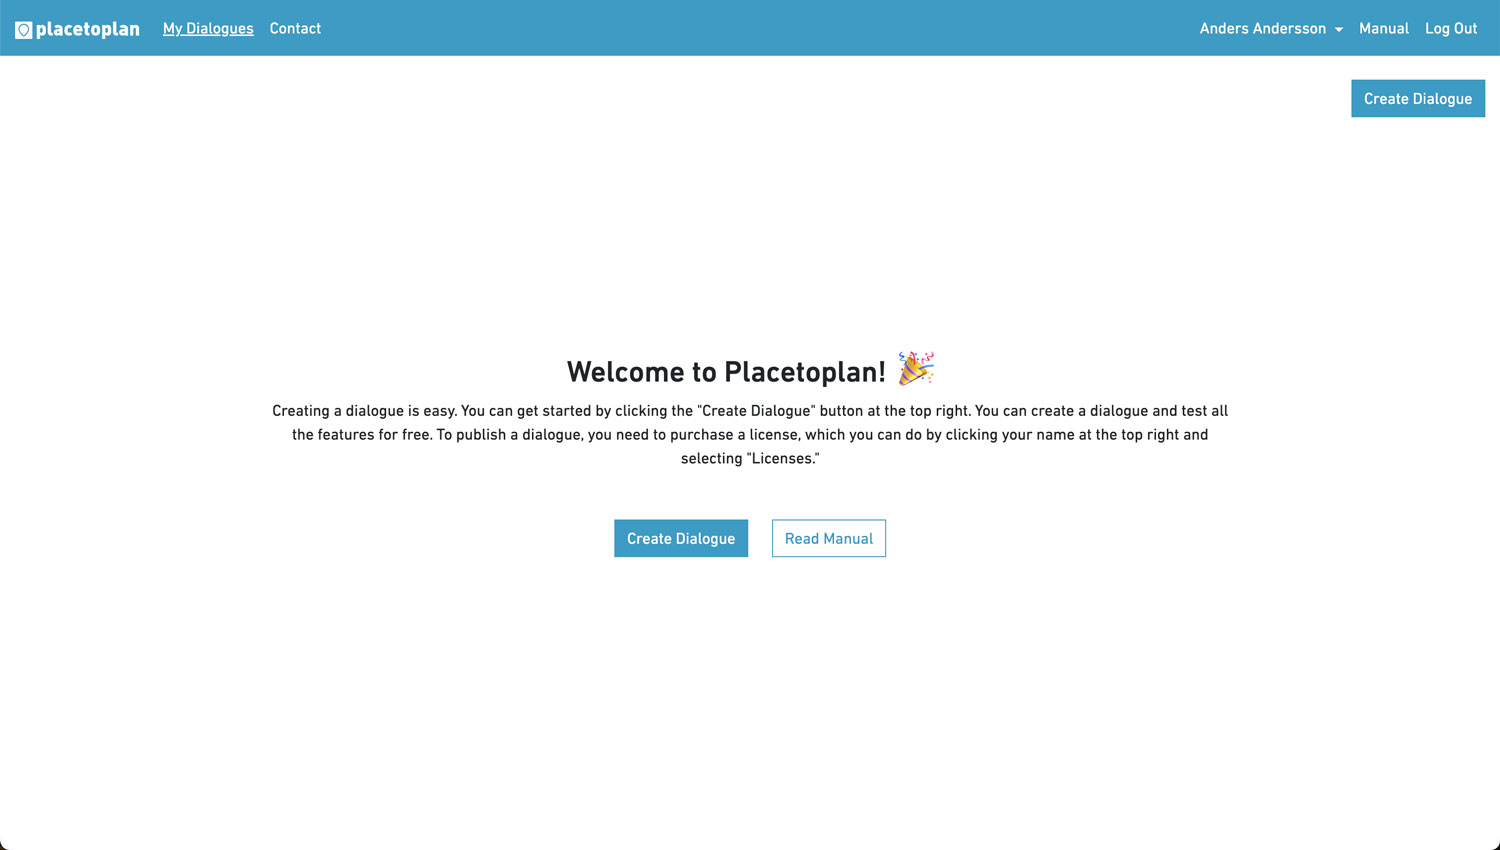
- Create a dialogue by clicking on "Create Dialogue" at the top right.
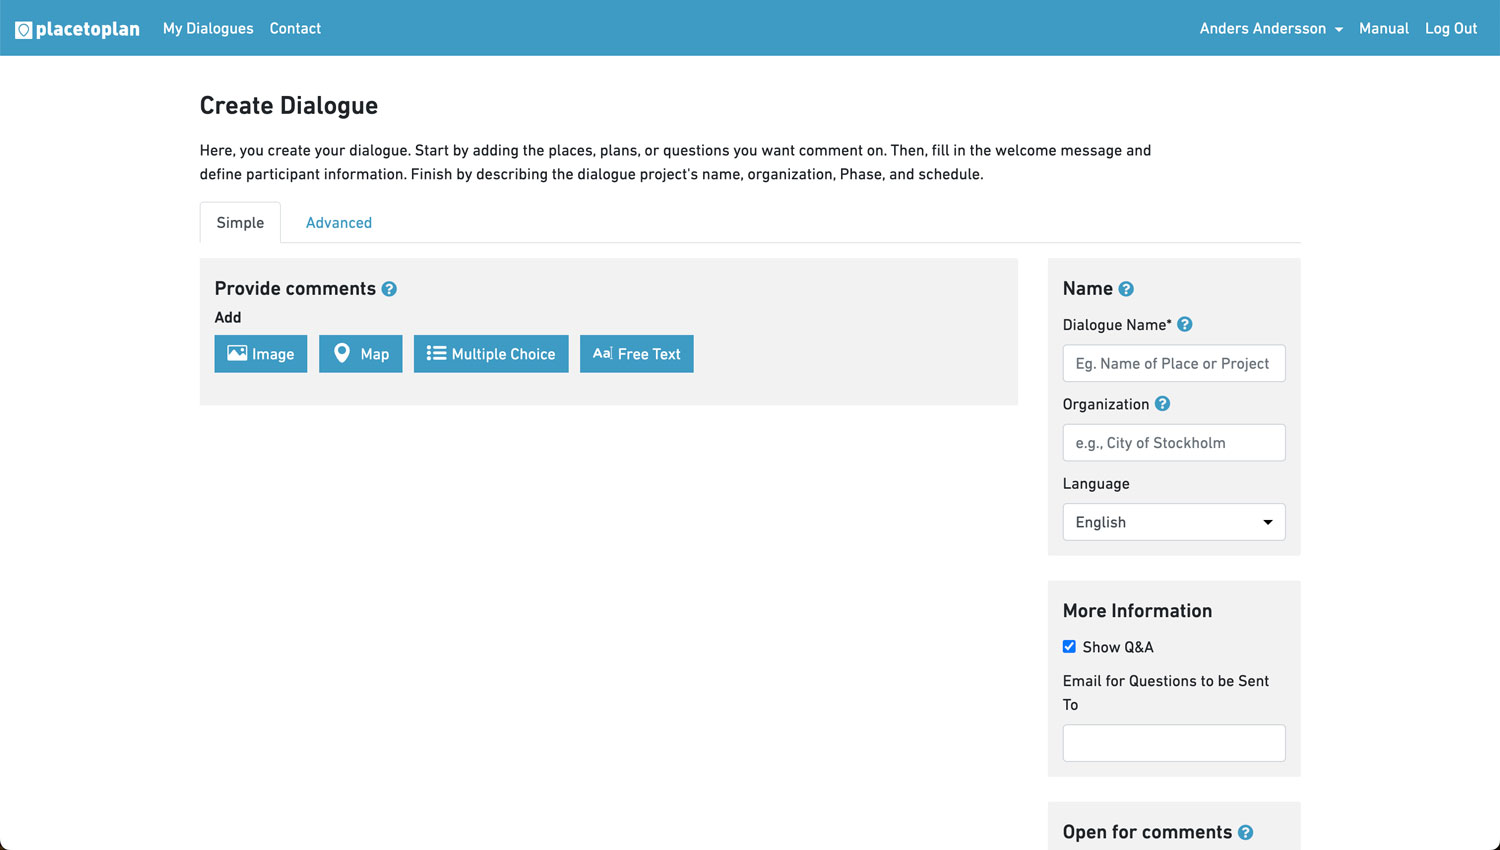
- The "Simple" tab allows you to quickly set up a dialogue with our default settings.
- Name: Enter the name of your dialogue (e.g., Main Square or Master Plan). The dialogue name automatically generates a link to the page. Enter the name of your organization and feel free to upload your logo.
- Open for Comments: Enter the dates when the dialogue will start and end. It is only during these dates that the public can provide Comments. After the end date, received Comments will remain visible as long as the dialogue is published.
-
Collect Comments: Here, you can add the images, maps, and questions on which you want to collect Comments. The order cannot be changed after the dialogue is published.
- Image: Upload an image by clicking "Select File." "Allow image upload" means that dialogue participants can upload their own images in their Comments. You can limit the number of responses per participant here. Once you've selected an image file, click "Save." Add "Good" and "Improve" qualities.
- Map: Zoom in on the dialogue area. Click "Start Drawing." Drag the figure to define the dialogue area. You can limit the number of responses per participant here. Click "Save." Add "Good" and "Improve" qualities.
- Multiple Choice Question: Choose whether you want an illustration for your question (Image, Video, 3D). Write your question or heading (e.g., "Is this place welcoming?"). Choose between the default 5-point scale or custom answer options. Click "Add."
- Free Text Question: Choose whether you want an illustration for your question (Image, Video, 3D). Write your question or heading. Click "Add."
- Status: Click "Save Draft." Review the dialogue to ensure everything is correct. Click "Preview" if you want to see how the dialogue looks and functions when published. When you're ready, click "Publish." You need a license to publish. You can purchase this directly with a credit card (Basic licence) or get it assigned via Placetoplan if you've purchased the Support, Report, or Premium licence. Your license type is visible in the Status field. You can always upgrade your price package later.
- Share the dialogue link (e.g., placetoplan.com/main-square) with the public and relevant parties through methods such as email, websites, and social media.
Your Account
To create an account, visit placetoplan.se. Click on "Create Account" at the top. Enter your name, email, organization, and password. Click "Create Account."
Profile: Modify your account by clicking on your name at the top right and selecting "Profile." Here, you can change your name, email, and password.
Order History: Here, you can view all your purchases and download receipts.
Licenses: Here, you can see the licenses you've purchased, which ones you've used, and how many you have left.


Create Dialogue - Advanced
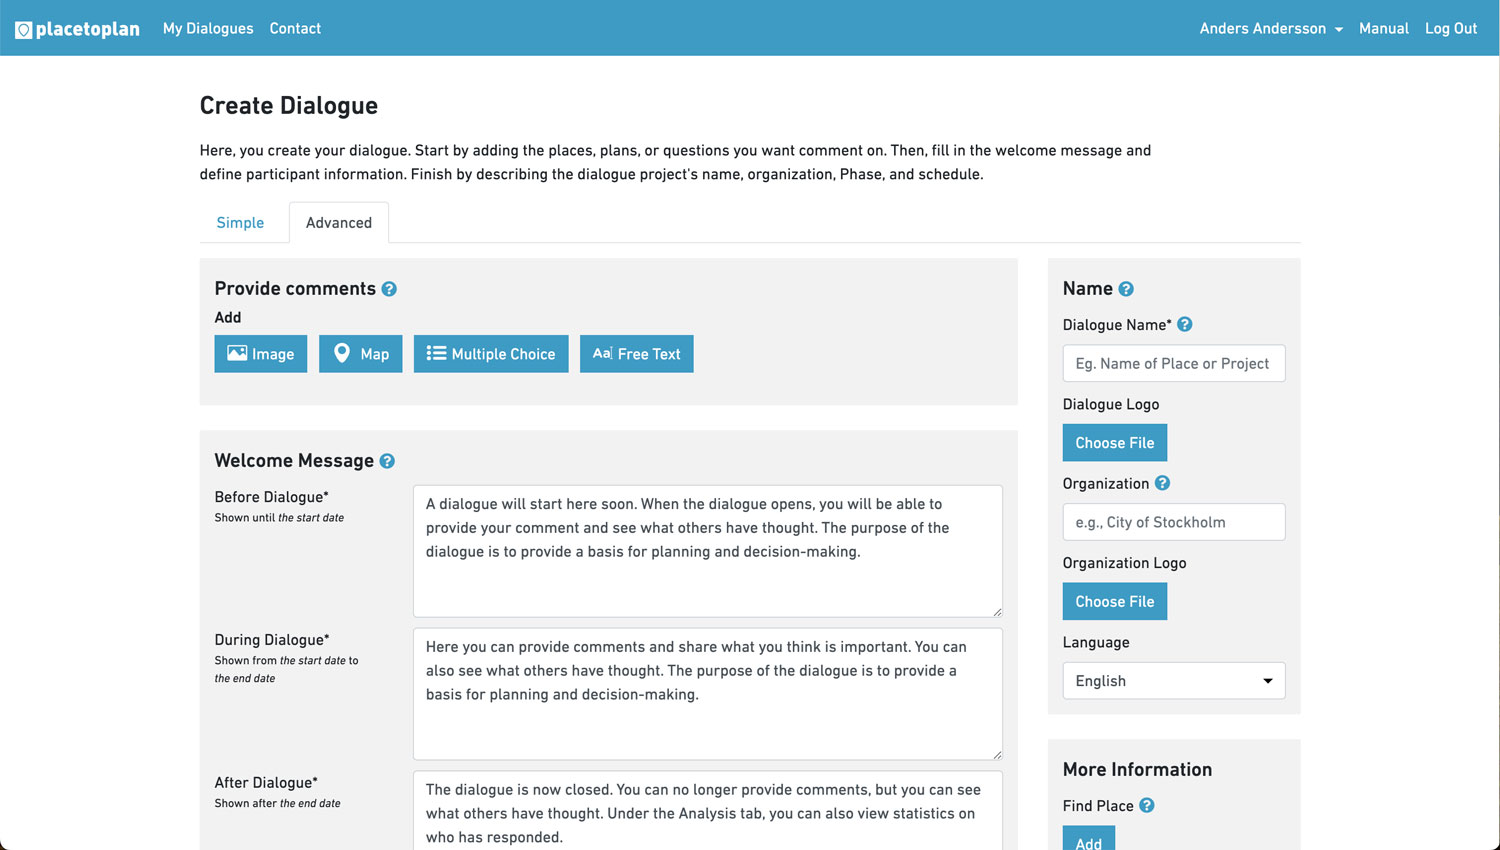
Under the "Simple" tab, you can quickly create a dialogue with our default settings. Under the "Advanced" tab, you can manually control all the settings in the dialogue. This section describes the "Advanced" settings.
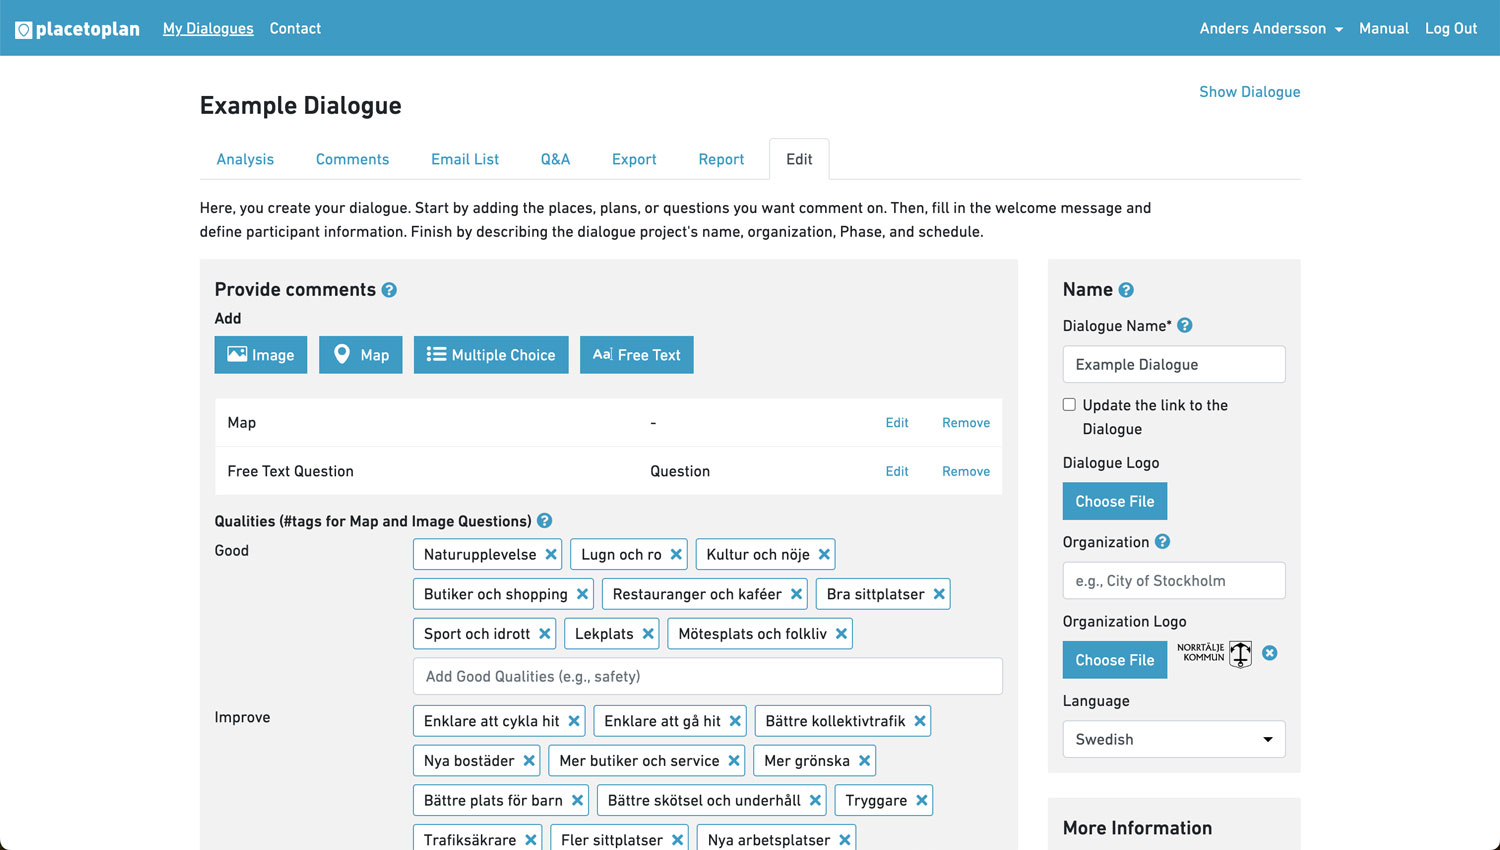
- Name: Enter the name of your dialogue (e.g., Main Square or Center Plan). The dialogue name automatically generates a link to the page. Enter the name of your organization and feel free to upload your logo.
- More Information: To make it easier to find your location. Click "Add." Mark where the dialogue is located on the map. Click "Save." Insert a link to a webpage with more information about the project. This could be a project page or district page. Choose to display "Questions & Answers" if you want an interactive FAQ forum on your dialogue page (read more below).
- Dialogue Phases: If your dialogue has multiple Phases, you can describe them here. Click "Add." Enter all dialogue Phases, including completed, current, and upcoming dialogues, including names and any web links to them. Click "Save." Choose the current dialogue phase, the one being created here and now.
- Open for Comments: Enter the dates when the dialogue will start and end. It is only during these dates that the public can provide Comments. After the end date, received Comments will remain visible as long as the dialogue is published.
-
Collect Comments: Here, you can add the images, maps, and questions on which you want to collect Comments. The order cannot be changed after the dialogue is published.
- Image: Upload an image by clicking "Select File." "Allow image upload" means that dialogue participants can upload their own images in their Comments. You can limit the number of responses per participant here. Once you've selected an image file, click "Save." Add "Good" and "Improve" qualities.
- Map: Zoom in on the dialogue area. Click "Start Drawing." Drag the figure to define the dialogue area. You can limit the number of responses per participant here. Click "Save." Add "Good" and "Improve" qualities.
- Multiple Choice Question: Choose whether you want an illustration for your question (Image, Video, 3D). Write your question or heading (e.g., "Is this place attractive?"). Choose between the default 5-point scale or custom answer options. Click "Add."
- Free Text Question: Choose whether you want an illustration for your question (Image, Video, 3D). Write your question or heading. Click "Add."
- Welcome Message: This is the information the visitor initially encounters. It's important to briefly describe the dialogue and its purpose. If the dialogue is published before the start date, the text "Before Dialogue" is displayed. When the dialogue is open for Comments, the text "During Dialogue" is displayed. After the end date, the text "After Dialogue" is displayed.
- Submit Comments: Here, you determine what personal information visitors must provide before submitting their Comments. For example, if it's a detailed plan, it may require name and address so that those who submit Comments can have the opportunity to appeal a detailed plan decision. Check the information type. Add Gender, Groups ("I'm answering as..."), Ages, Areas ("I live in...").
- Show Comments: Here, you decide what should be visible when visitors view Comments. The "Report" button allows visitors to report inappropriate content. When a visitor reports Comments, it is flagged in the admin interface for review and, if necessary, removal. The "Share" button allows visitors to share their Comments with a unique link. When visitors click the "Share" button, a link to the specific Comments is displayed, which can be shared on social media, for example. The "Newsletter" option allows visitors to choose to subscribe to newsletters.
- Status: Click "Save Draft." Review the dialogue to ensure everything is correct. Click "Preview" if you want to see how the dialogue looks and functions when published. When you're ready, click "Publish." You need a license to publish. You can purchase this directly with a credit card (Basic price package) or get it assigned via Placetoplan if you've purchased the Support, Report, or Premium packages. Your license type is visible in the Status field. You can always upgrade your price package later.
- Share the dialogue link (e.g., placetoplan.com/main-square) with the public and relevant parties through methods such as email, websites, and social media. Learn more about conducting effective dialogues in our guide
My Dialogues
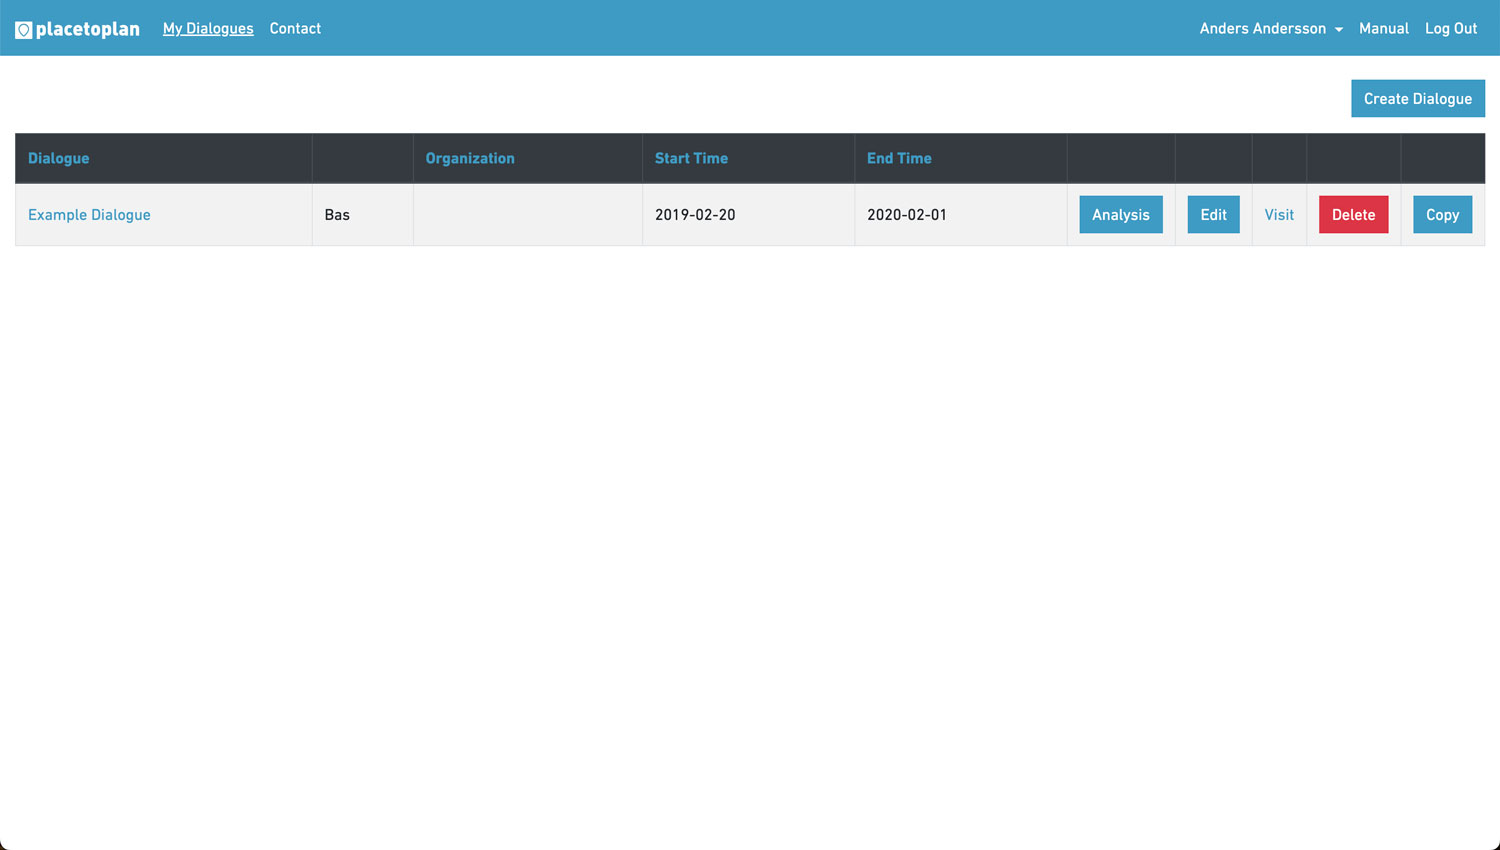
The My Dialogues page displays all your saved and published dialogues. You can sort the columns.
The "Publish" button publishes the dialogue, and you can see if it's published (green).
The "Analysis" button links to the dialogue's Analysis tab.
The "Edit" button allows you to edit the dialogue. If there are received Comments in the dialogue, certain settings cannot be changed for statistical reasons.
The "Visit" button opens a new tab with the public dialogue page.
The "Delete" button deletes the dialogue.
The "Copy" button creates a copy as a new dialogue.
Click on a dialogue, and you'll see all the dialogue's settings – Analysis, Comments, Email List, Questions & Answers, Export, Report, Edit. These are described below.
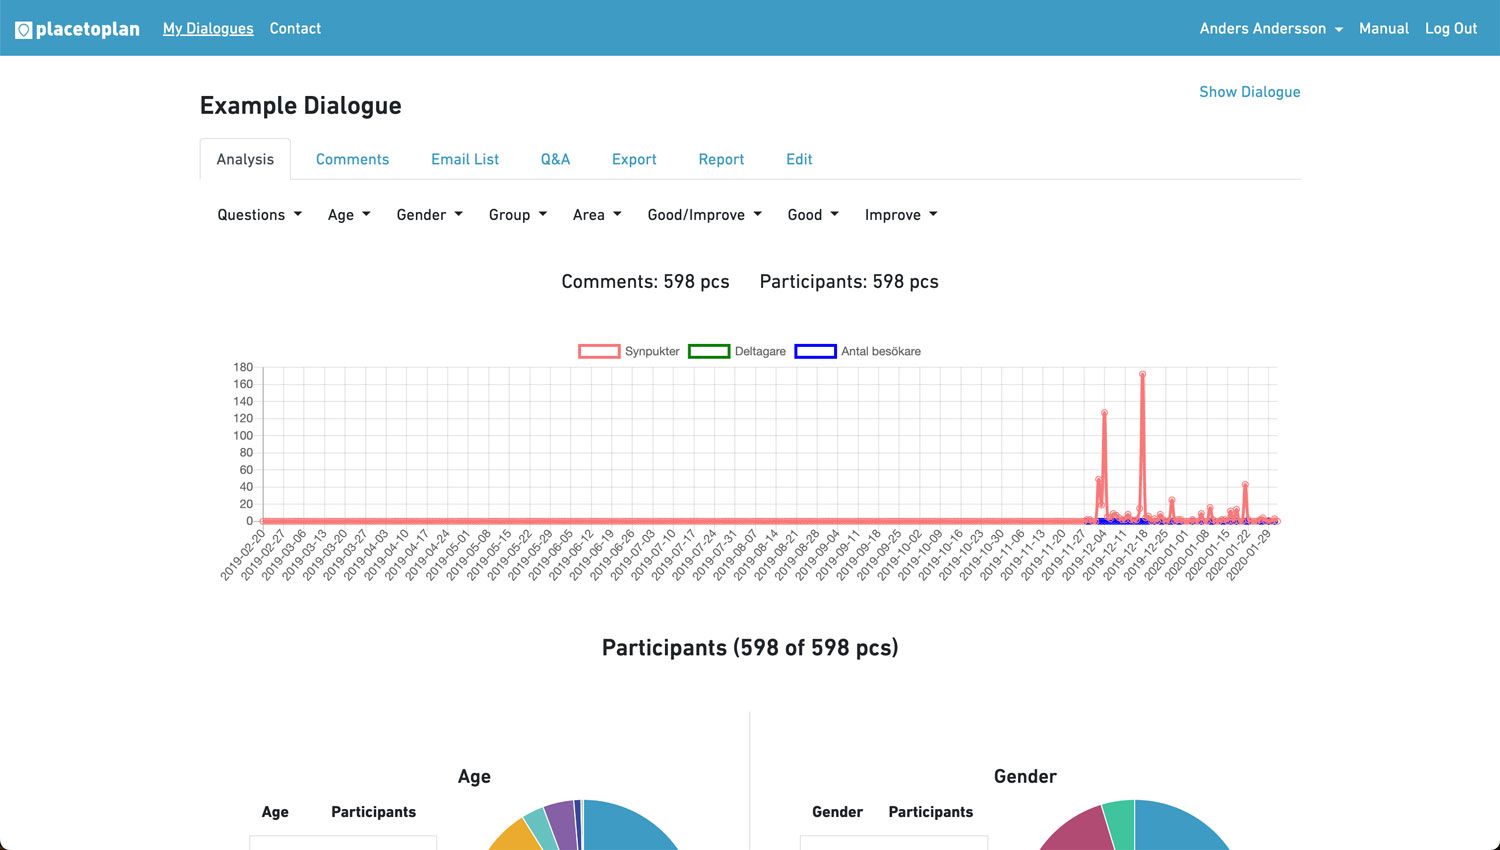
Analysis
Here, you can view statistics about received Comments. The bar chart shows when Comments was received, the number of participants, and visitors over time. Comments on place-based questions on images or maps is displayed. The pie charts show the distribution of age, gender, group ("Answering as..."), and area ("I live in...").
You can filter Comments by Questions (Map, Image, Multiple Choice, Free Text), Age, Gender, Group, Area, Good/Improve, Good, Improve.
Individual figures can be saved by right-clicking on them and selecting "Save image as..."
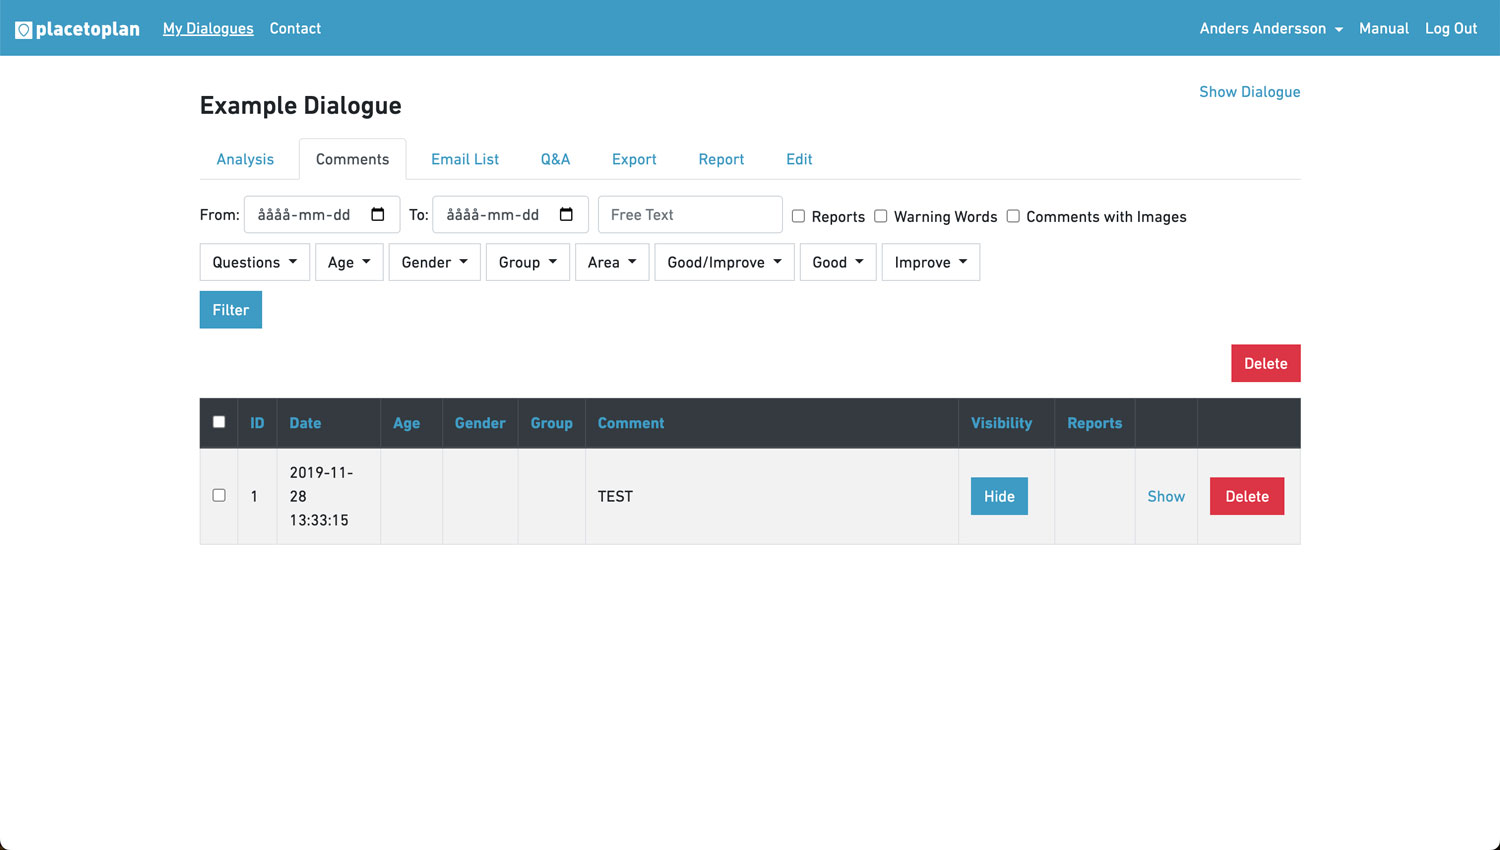
Comments
Here, you can see all received Comments. You can filter Comments by time, keywords, Reports (from the "Report" button), Warning Words (a predefined list), and all other attributes (Questions, Age, Gender, Group, Area, Good/Improve, Good, Improve).
You can also delete received Comments, for example, to start a dialogue over or to make important edits. You can also choose to hide Comments, which will no longer be visible on the dialogue page but will be included when exporting Comments for compilation.
Email List
This lists all participants who have provided an email in their posts. The email list can be saved as an Excel file. The email list is typically used for newsletters about what's happening at the location or in a project.

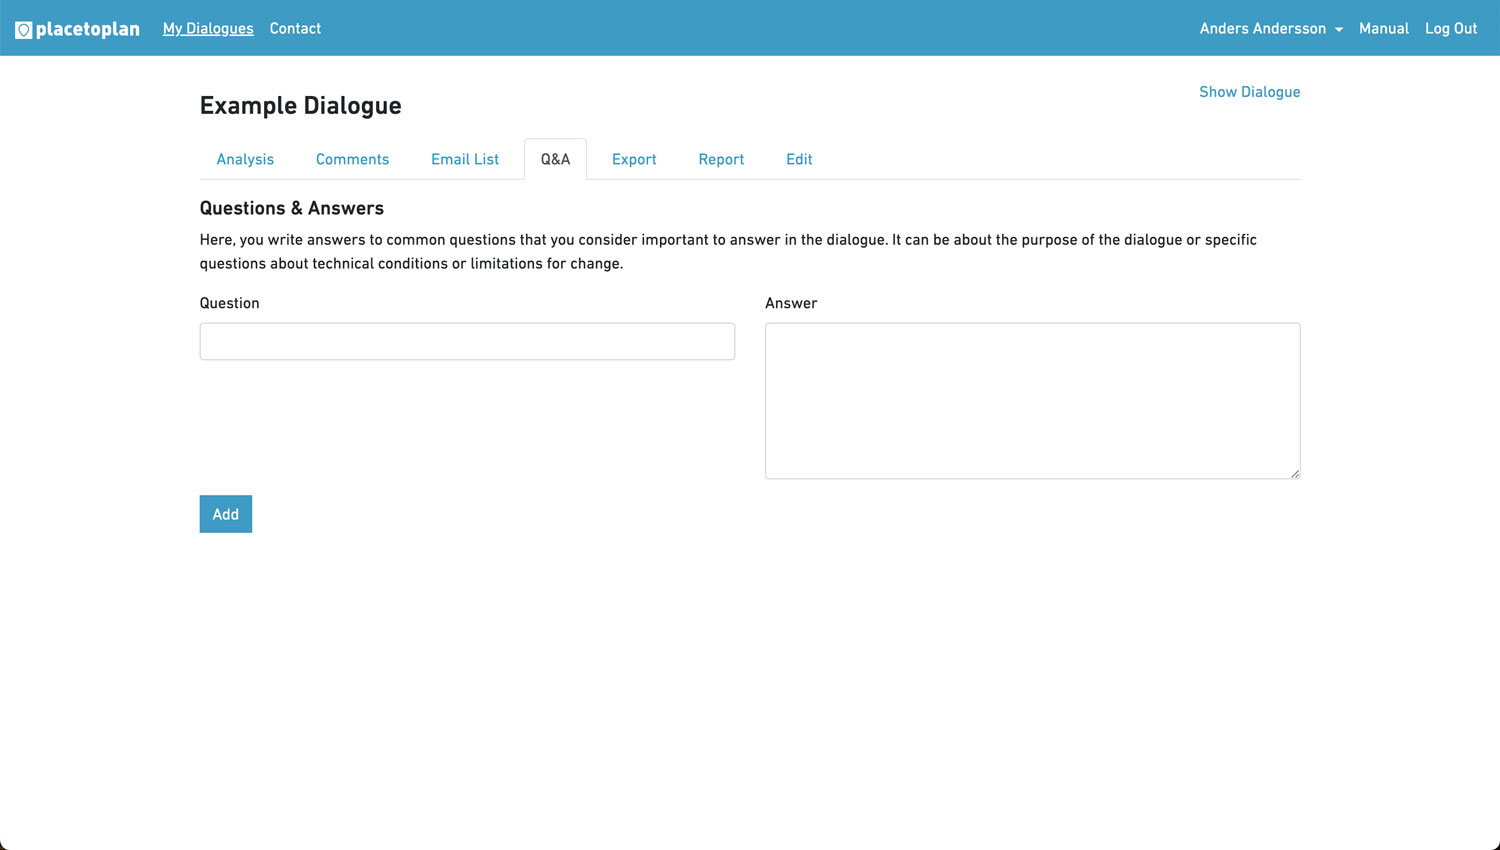
Questions & Answers
Here, you write answers to general questions that you consider important to address in the dialogue. These can be about the purpose of the dialogue or specific questions about technical conditions or limitations for change.
Enter the email to which you want participants' questions to be sent, preferably your own. Click "Save." New questions are entered in the "Question" field, and the answer is entered in the "Answer" field. Click "Add." Enter one question and answer at a time.
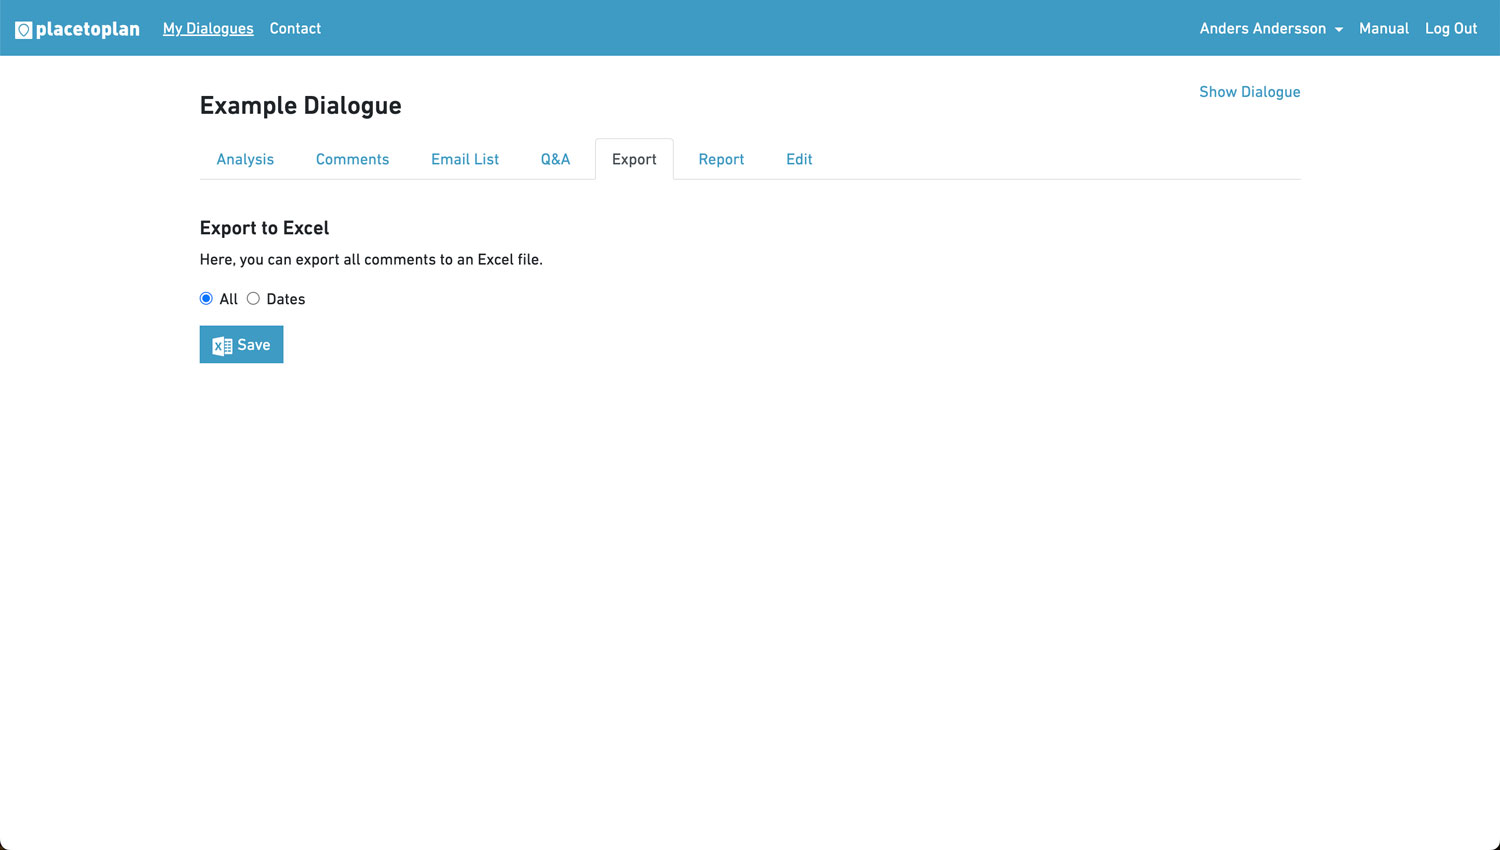
Export
All Comments can be exported in an Excel table. You can choose to export Comments between specific dates.
Map questions can be exported in GIS format as points with associated responses in a shapefile.
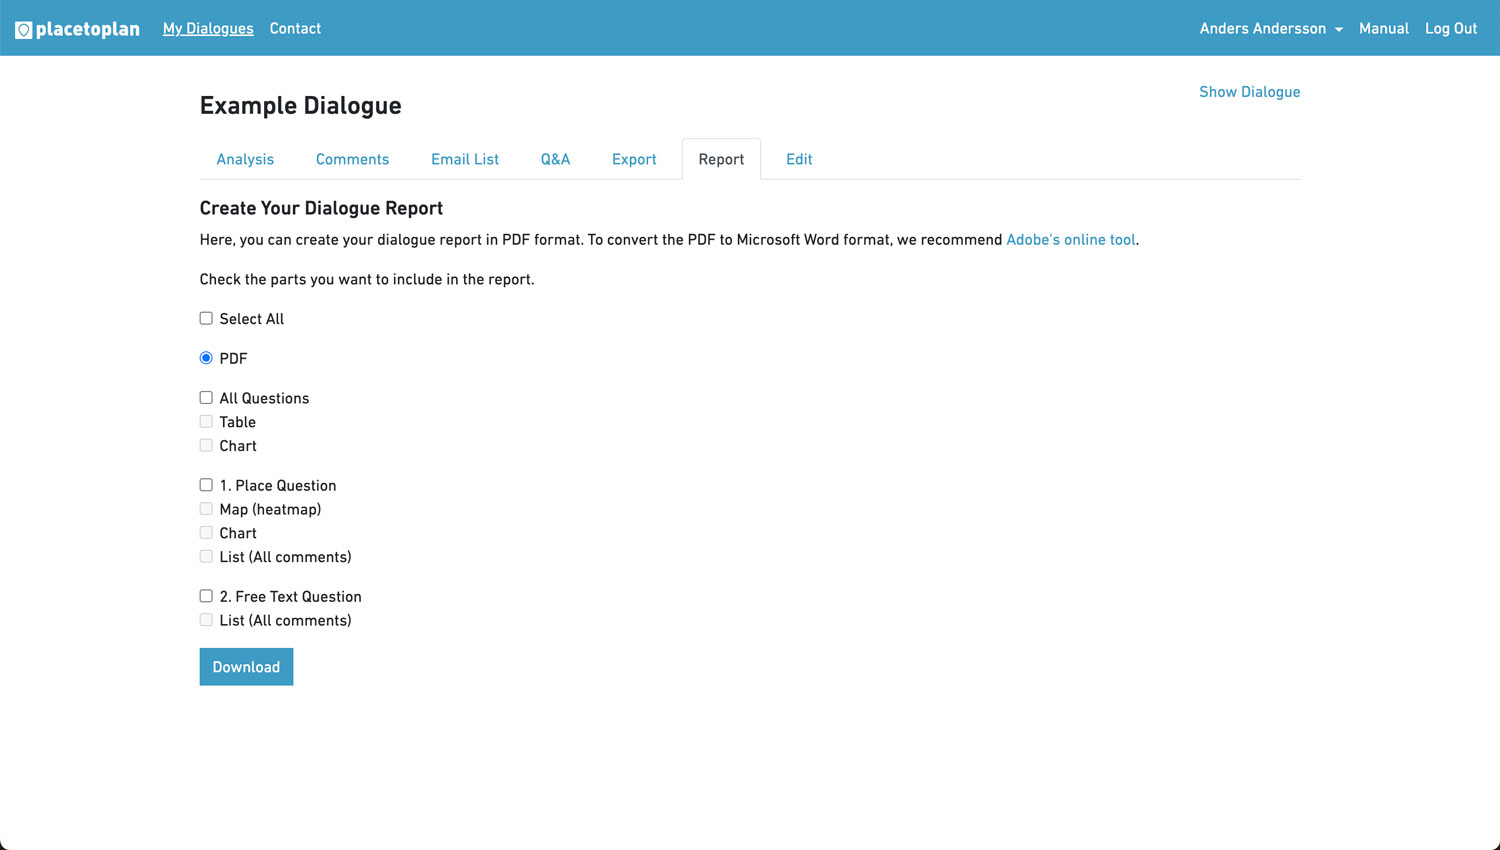
Report
Here, you can create your own dialogue report in PDF format. To convert the PDF to Microsoft Word format, we recommend using Adobe's online tool. Check the parts you want to include in the report.
Check "Select All" if you want a complete report with images, diagrams, and all written Comments.
"Diagrams" creates pie charts showing the percentage of responses in categories such as Good/Improve, Age, Gender, Area, Group.
"Image/Map" creates heatmaps of Comments placed on images or maps.
"List" creates a list of all received Comments for each question.
Edit
Here, you can see the entire dialogue. Properties that can be changed after publishing and do not affect statistics include Name, More Information, Date, Welcome Message, Show Comments.
Support
Placetoplan offers support for dialogues under the Support, Report, and Premium licenses. For these licenses, there is a support window where you can directly contact support. Responses are provided via email.
Bug reports can be sent to error@placetoplan.com.
Test Dialogue
Here you'll find our test dialogue for demonstration purposes.